Brand: SAMSUNG
Category: Camera
Document Type: Manual
Language: EN
Brand: SAMSUNG
Category: Camera
Document Type: Manual
Language: EN
Uploaded: Nov. 21, 2025, 6:39 p.m.
No warranty information found in the provided pages.
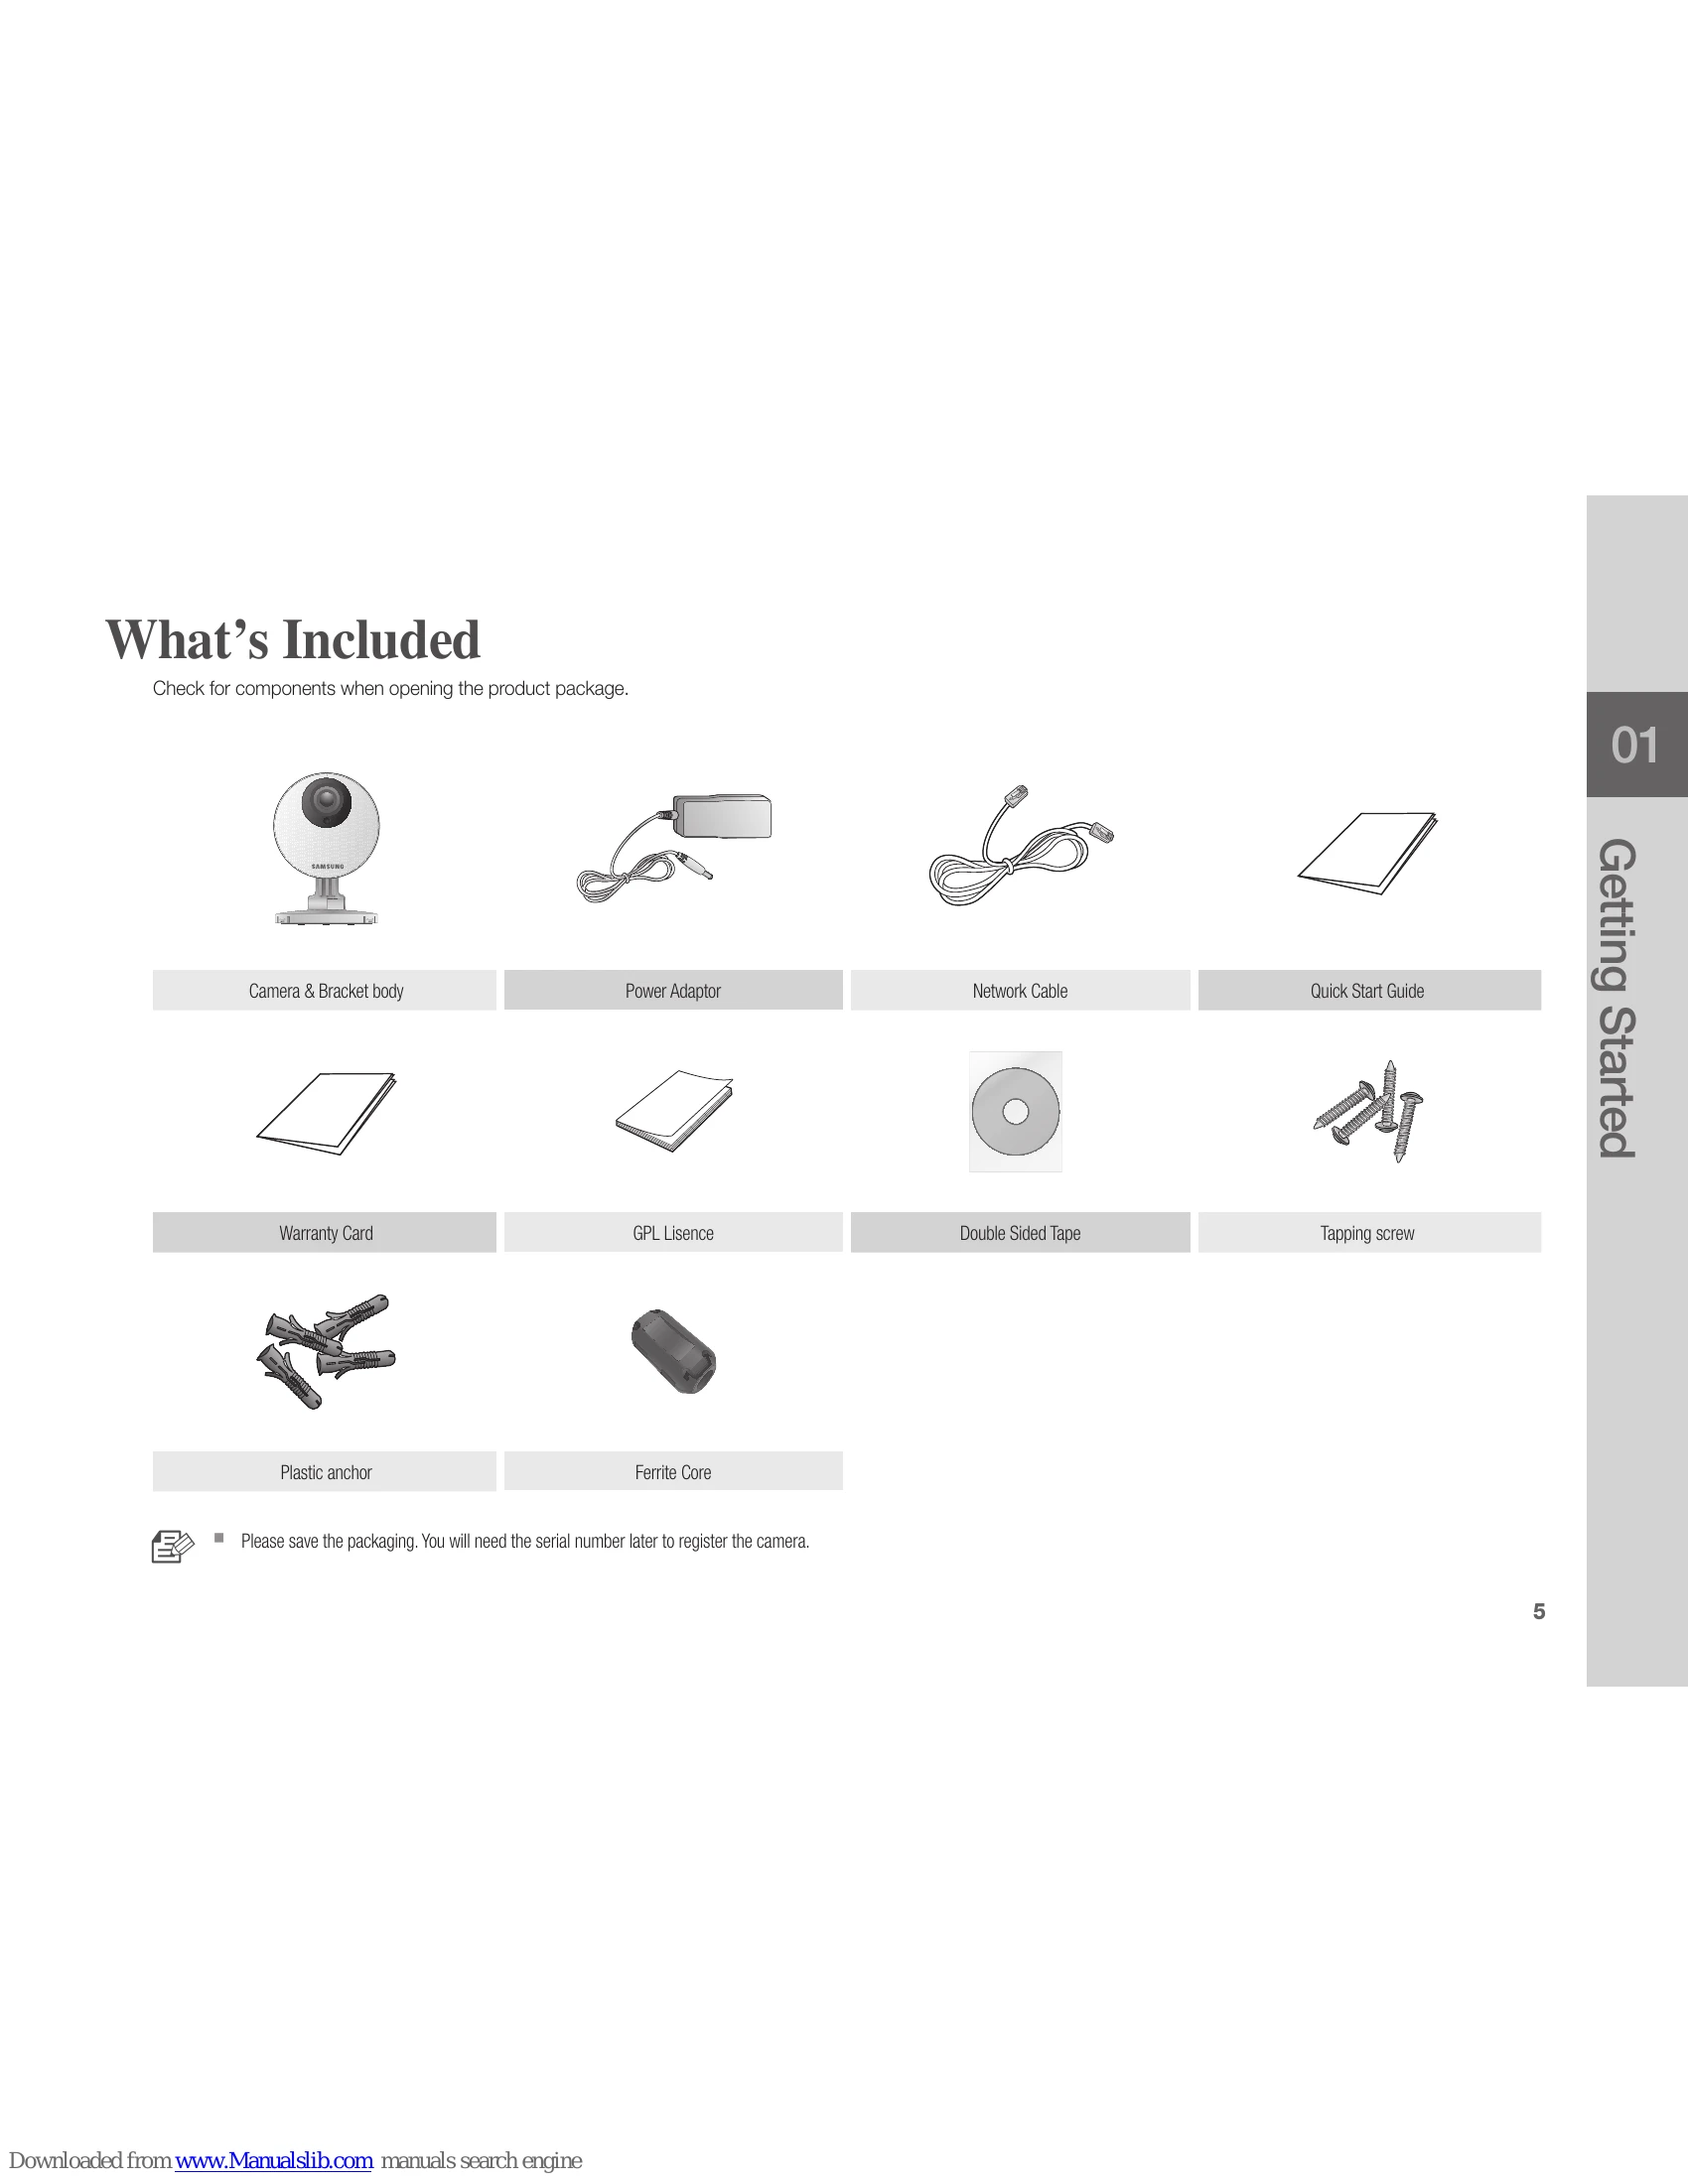
Check for components when opening the product package.
| Problem | Action |
| I forgot my user ID/ password. | Move to "Log-in page → Forgot your ID/Password?", and enter the registered e-mail address to which we will send you the user ID and/or a new password. It can be spammed out depending on the policy of the email server. After logged in, it is advisable to change the temporary password provided. |
| Camera is not connected to the wireless hub. | If the camera's wireless internet indication LED goes off too often, then it means that the camera installation location is not optimal for the wireless internet environment, so in this case, locate the camera close to the wireless hub and try to connect again. Check the password for the wireless hub and try again. |
| After logged in, I failed to register the camera. | Check that the serial number entered matches the label on the back of the camera. Enter the correct password for the camera registered again and try to register the camera again. Check the camera LED to see if it is green. If not, then check the network connection. If you are still unable to register the camera after this, then reset the camera to factory settings and begin again. (If you want to reset to factory settings, press and hold the initialize button on the back for 10 sec. Once initialized to factory settings, the camera will be restarted.) |
| The capture images in the camera will not be uploaded to Picasa. | Move to Setup → Alarm & Notification and adjust the sensitivity as necessary. From the Alarm & Notification setup, configure the Picasa notification settings. (See page 26 of the manual) Picasa has different service policies according to the country. The policy for your country may prohibit uploading to Picasa. Please first check the Picasa policy for your country. According to the Picasa policy, it may limit the uploading size. Check the allowable free space of your Picasa account, and if insufficient, delete the exiting images. |
| No camera alerts are sent to Twitter. | Move to Setup → Alarm & Notification and adjust the sensitivity as necessary. From the Alarm & Notification setup, configure the Twitter notification settings. (See page 27 of the manual) |
| The video from the camera is temporarily lost. | The video from the camera can be delayed according to a network delay. Please check if the camera is installed in a place of proper wireless Internet communications. |
| No sound is output from the video. | Click the Voice icon in the video playback page, or check if the voice is turned On in your smart phone app. Some internet service providers do not support audio outputs in relay mode. |
| I forgot my Camera password. | You must create a new camera password. Press the initialization button on the back of the product for more than 10 seconds to reset to factory settings. After factory initialization, when you access the camera, you can reset the password for the camera. |
| I want to change my password and/or email address. | After logging in, click on the <Account>. Select the item (password, or email address) and enter your information. |
| Camera will be connected in a relay mode. | Check the UPnP setting of the router. Using a network upload speed of 500Kbps or higher is recommended. Depending on the policy of your service provider, you can access in relay mode. |