Brand: Panasonic
Category: Home Theater System
Document Type: Manual
Language: EN
Brand: Panasonic
Category: Home Theater System
Document Type: Manual
Language: EN
Uploaded: Nov. 21, 2025, 6:39 p.m.
Refer to the manual for specific warranty details applicable to your region.
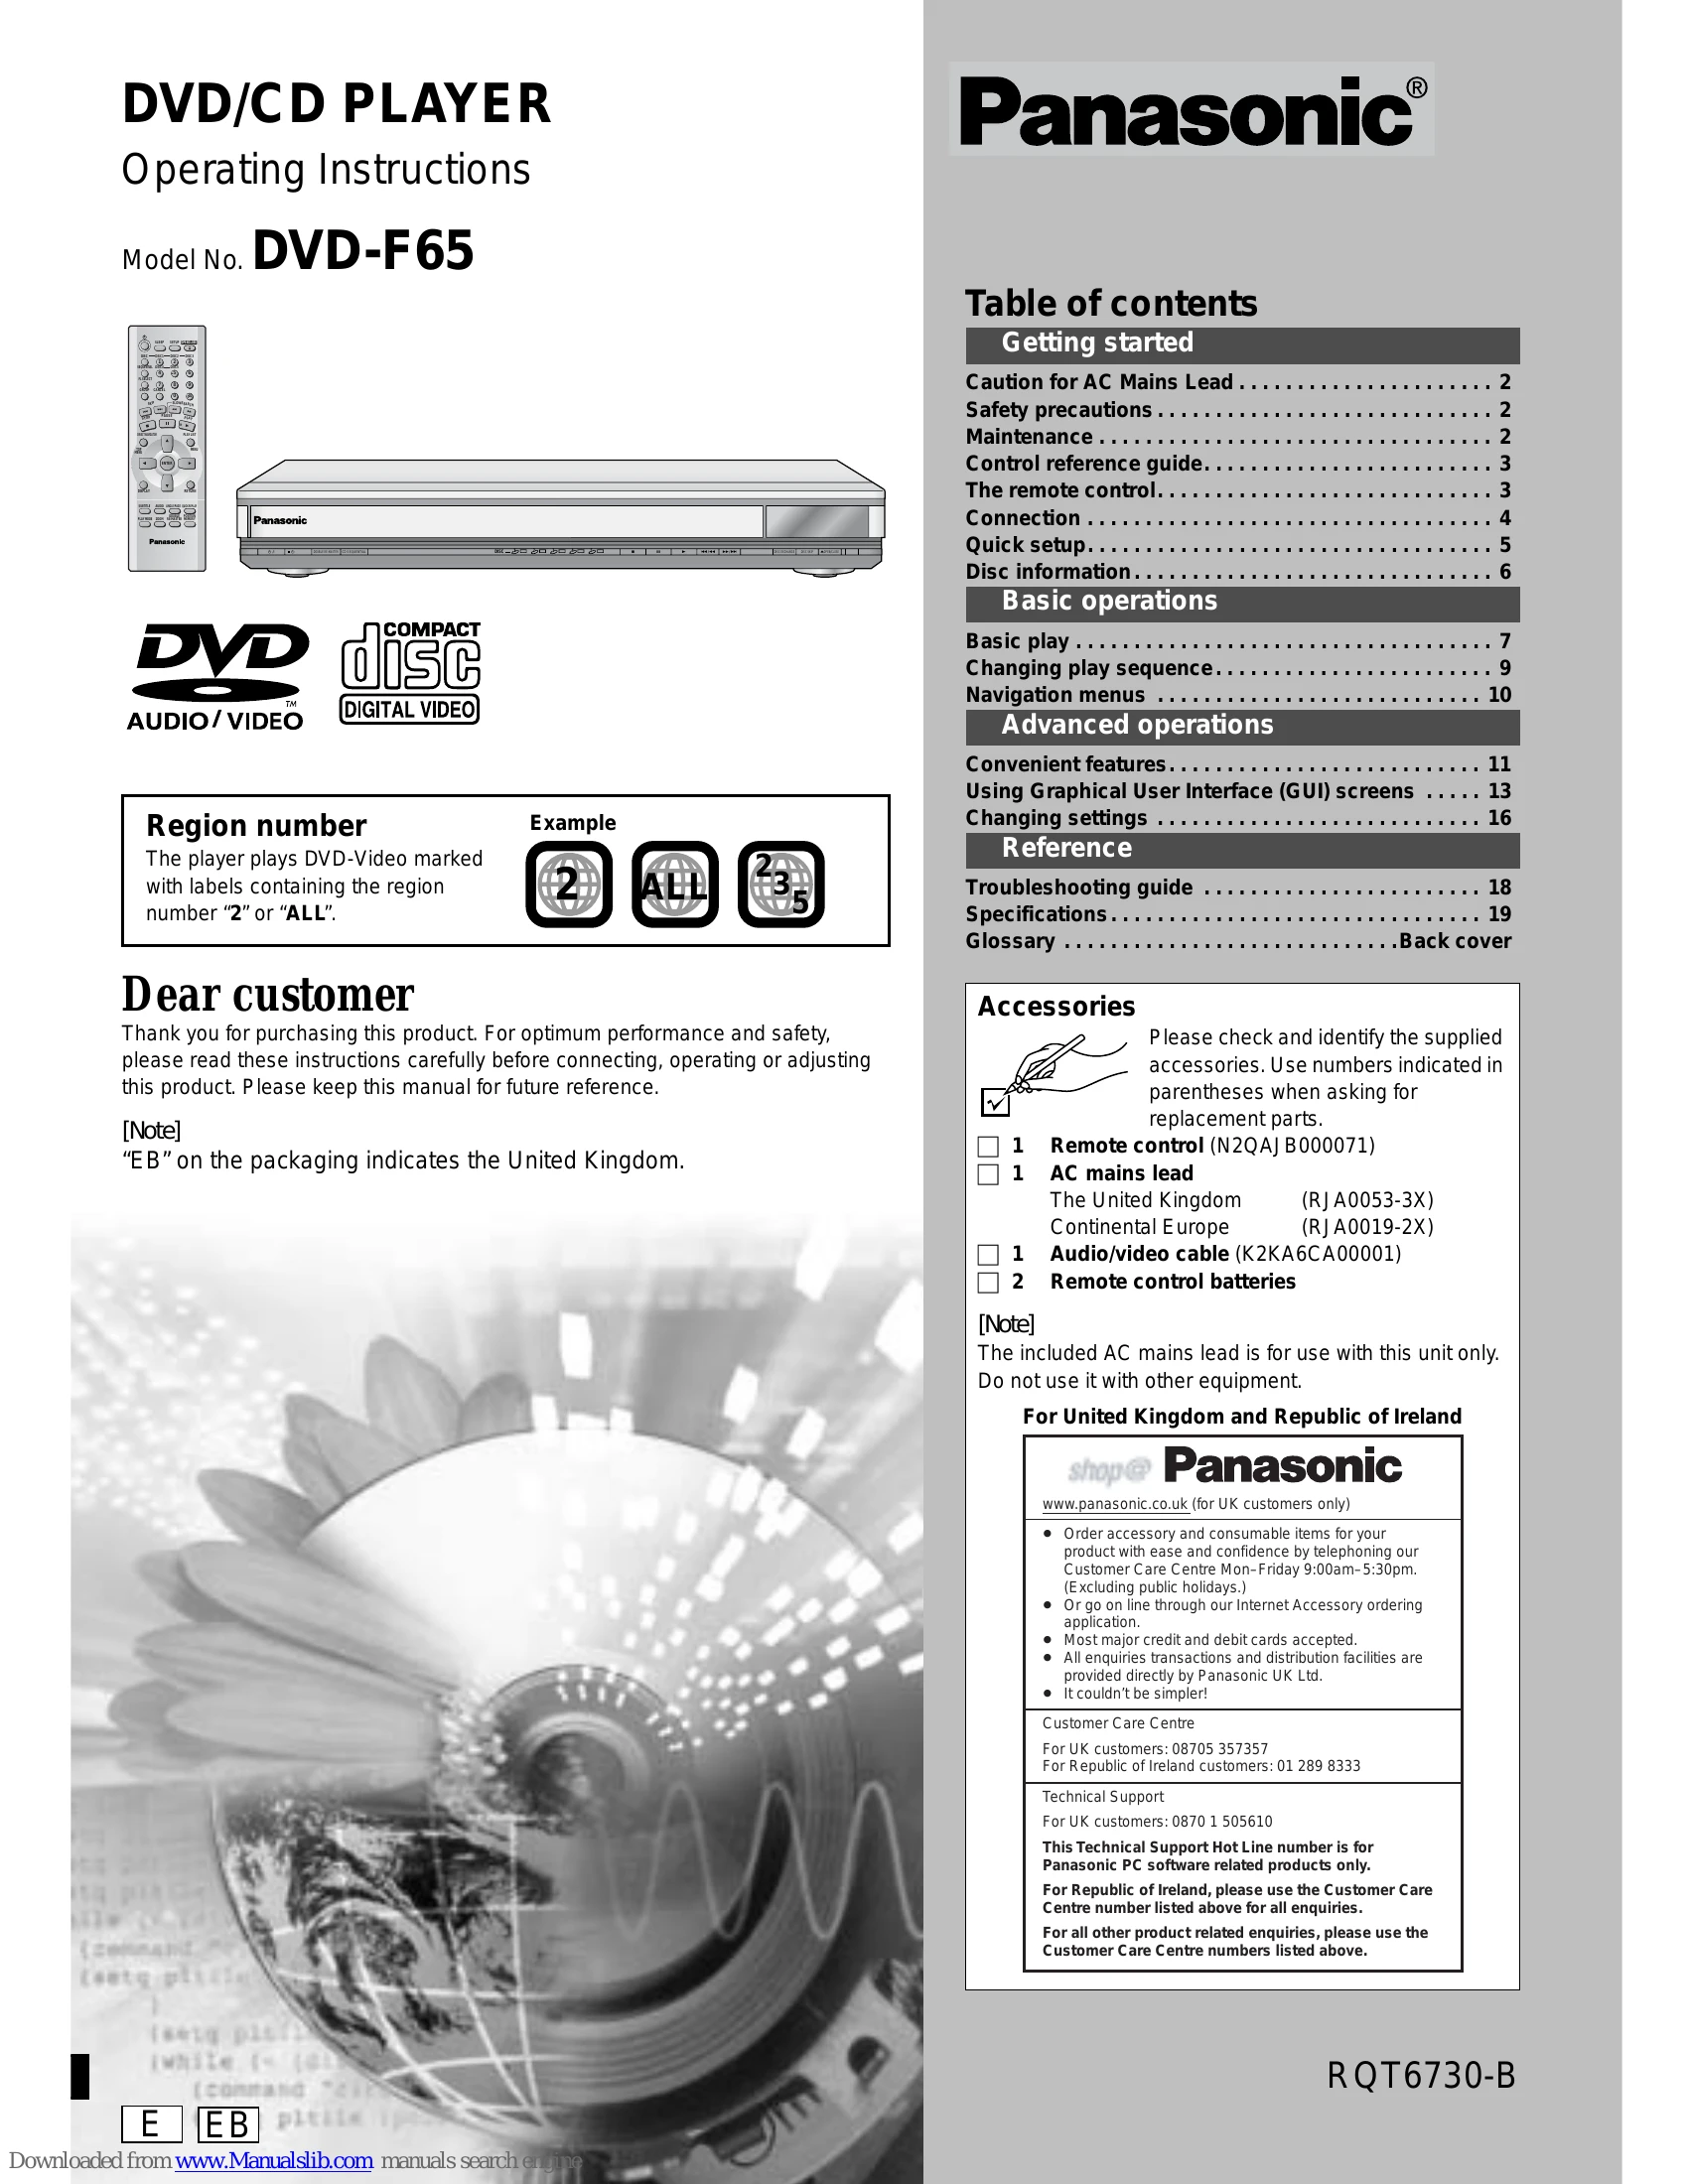
Connect the unit to your TV using the included cables. Follow the Quick Setup guide for initial settings like language and aspect ratio. Ensure the AC mains lead is safely connected.
Insert discs and press PLAY to begin. Use the remote control for playback functions like stop, pause, skip, and search. Explore menus using the cursor buttons. The unit supports various disc types including DVD-Video, CD, and MP3/WMA/JPEG files.
Customize your viewing experience by adjusting soundtracks, subtitles, and angles. Utilize the variable zoom function and double re-master for enhanced audio. The GUI screens allow for detailed control over disc and unit settings.
Refer to the troubleshooting guide for solutions to common issues like power problems, operation errors, and disc playback difficulties.
| Before requesting service, make the following checks. If you are in doubt about some of the check points, or if the remedies indicated in the chart do not solve the problem, consult your dealer for instruction. | |||
| Power | |||
|---|---|---|---|
| No power. | •Insert the AC mains lead securely into the household mains socket. The unit is automatically switched to the standby mode. |
The unit automatically switches to standby after approximately 30 minutes in the stop mode. Turn the power back to ON. •The SLEEP timer functioned. |
4 9 |
| Operation | |||
| No response when buttons pressed. | •Some operations may be prohibited by the disc. •The unit may not be operating properly due to lightning, static electricity or some other external factor. Reset procedure: Press [/I] to switch the unit to the standby mode and then back to ON. Alternatively, press [/I] to switch the unit to the standby mode, disconnect the AC mains lead, and then reconnect it. |
3 | |
| No operations can be performed with the remote control. | •Check that the batteries are installed correctly. • The batteries are depleted: Replace them with new ones. Point the remote control at the remote control sensor and operate. |
3 | |
| Play doesn't start (or stops immediately) when you press [▷] (PLAY). | •Condensation has formed: Wait 1 to 2 hours for it to evaporate. •This unit cannot play discs other than the ones listed in these operating instructions. •You can only play DVD-Video if their region number is "2", "ALL" or multiple region number including "2". •The disc may be dirty and may require cleaning. • Ensure that the disc is loaded with the label of the side to be played facing upwards. |
Cover 6 |
|
| Cannot play DVDs. | •Check that the DVD-RAM has something recorded on it. | 7 | |
| Cannot select alternative languages. | •Sequential Mode is on. Press [SEQUENTIAL] to turn Sequential Mode off. | 8 | |
| No menu play. | •This function depends on software availability. | 7 | |
| No subtitles. | •This function depends on software availability. •This function depends on software availability. •Subtitles are cleared from the television. Turn on the subtitles. •Subtitle position is wrong. Adjust the position. |
12 12 |
|
| Soundtrack and/or subtitle language is not the one selected with the SETUP menus. Cannot change angle. | •This function depends on software availability. Even if a disc has a number of angles recorded, these angles may be recorded for specific scenes only. •While stopped, press and hold [/I] and [▷] on the unit and then also press and hold [▲] on the unit until "Initialized" disappears from the television. Turn the unit off and on again. Reset all the settings to Factory Preset. All settings will return to the default values. |
– | |
| You have forgotten your ratings password. | |||
| The drawer stops while opening. | • There are more than 5 discs in the unit. Remove one or more discs and turn the unit off and on again. | ||
| Picture | |||
| Picture distorted. | •Some distortion is normal during SEARCH. •Restore the zoom ratio to x 1.00. •Set the subtitle position to 0. •Set 4:3 Aspect to "Normal". |
11 12 15 |
|
| Menu not displayed correctly. | •Check the connection. | 4 | |
| No picture. | •Make sure the television is on. • Ensure the television's video input setting (e.g., VIDEO 1) is correct. |
4 | |
| The picture shown on the television is not normal. (The sides of the picture are cut off, the picture is stretched horizontally, or black bands appear at the top and bottom of the screen.) | •Go to Video in the SETUP menus, and change "TV Aspect" to suit your television. •Use the television to change the aspect to the correct one. •If your television cannot change the aspect when input is progressive, try changing 4:3 Aspect with the GUI screen. • Turn off the zooming feature of your television if you are using Variable Zoom. • Ensure that the unit is connected directly to the television, and is not connected through a video cassette recorder. |
5, 16 15 11 4 |
|
| There is ghosting when progressive output is on. | •Change Video output mode to "4801". This problem is caused by the editing method or material used on DVD-Video, but should be corrected if you use interlace output. | 14 | |
| Picture quality is poor. | •Check the settings in the GUI screen's Picture Menu. •When you are using the component video out terminals to connect to a television check to see if the "Video Out (AV/Component)" setting is set to "Y PB PR" in the SETUP menu. •The unit and television are using different video systems. Use a multi-system or PAL television. |
14 16 |
|
| The SETUP menus and other screens shown on the television are displayed incorrectly. Colours appear faded. |