Brand: Makita
Category: Power Tool
Document Type: Manual
Language: EN
Brand: Makita
Category: Power Tool
Document Type: Manual
Language: EN
Uploaded: Nov. 21, 2025, 6:46 p.m.
Manual Publish Date: 1985-08-08
Refer to authorized service centers for repairs and maintenance, using only Makita replacement parts.
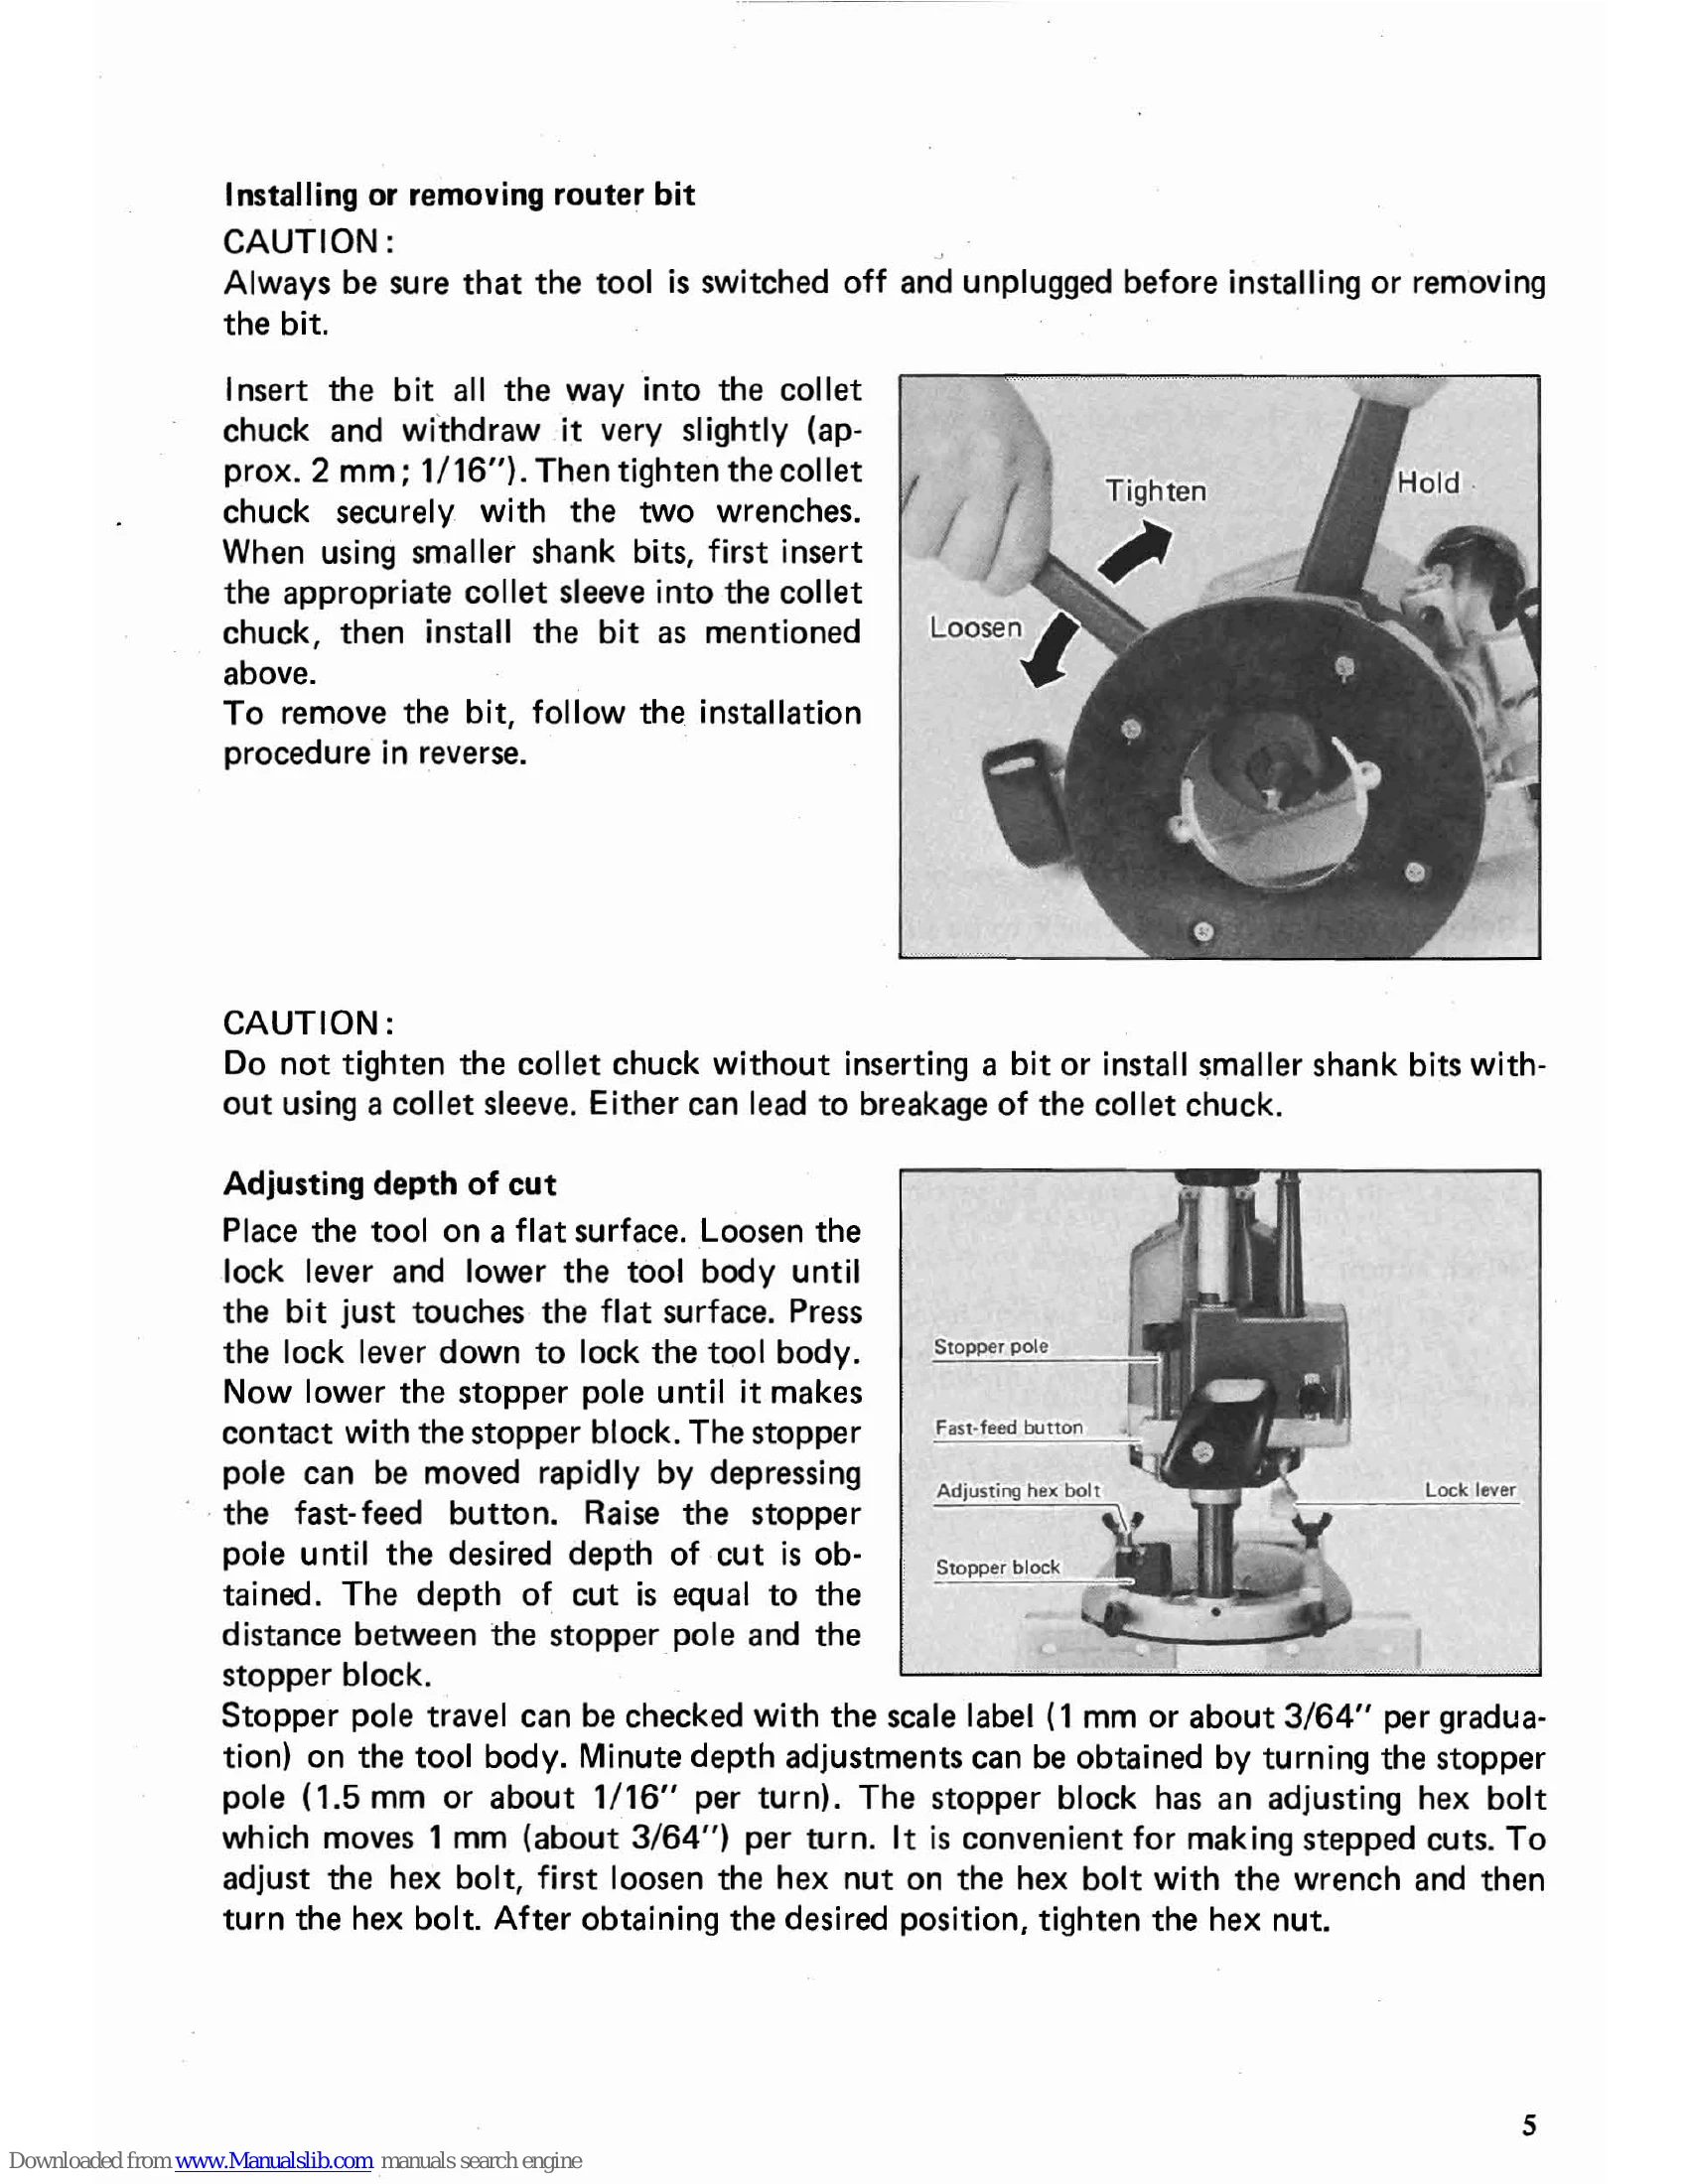
Always be sure that the tool is switched off and unplugged before installing or removing the bit.
Insert the bit all the way into the collet chuck and withdraw it very slightly (approx. 2 mm; 1/16"). Then tighten the collet chuck securely with the two wrenches.
When using smaller shank bits, first insert the appropriate collet sleeve into the collet chuck, then install the bit as mentioned above.
To remove the bit, follow the installation procedure in reverse.
Place the tool on a flat surface. Loosen the lock lever and lower the tool body until the bit just touches the flat surface. Press the lock lever down to lock the tool body.
Now lower the stopper pole until it makes contact with the stopper block. The stopper pole can be moved rapidly by depressing the fast-feed button. Raise the stopper pole until the desired depth of cut is obtained.
To start the tool, move the switch lever to the "ON" position. To stop, move the switch lever to the "OFF" position.
Set the tool base on the workpiece to be cut without the bit making any contact. Then turn the tool on and wait until the bit attains full speed. Lower the tool body and move the tool forward over the workpiece surface, keeping the tool base flush and advancing smoothly until the cutting is complete.
Install the straight guide on the guide holder with the wing bolt (B). Tighten the wing bolt (B) only tight enough to hold the straight guide temporarily.
Then insert the guide holder into the holes in the tool base and tighten the wing bolts (A). Adjust the distance between the bit and the straight guide by turning the fine adjusting screw (1.5 mm or about 1/16" per turn).
Install the trimmer guide on the guide holder with the wing bolt (B). Tighten the wing bolt (B) only tight enough to hold the trimmer guide temporarily.
Then insert the guide holder into the holes in the tool base and tighten the wing bolt (A). Adjust the distance between the bit and the trimmer guide by turning the fine adjusting screw (1.5 mm or about 1/16" per turn).
To install the templet guide, loosen the screws on the tool base, insert the templet guide and then tighten the screws.
Always be sure that the tool is switched off and unplugged before attempting to perform inspection or maintenance.