Brand: JVC
Category: Action Camera
Document Type: Manual
Language: EN
Brand: JVC
Category: Action Camera
Document Type: Manual
Language: EN
Uploaded: Nov. 21, 2025, 7:10 p.m.
Refer to the Warranty Card (For USA) and Service Information Card for warranty details.
Getting Started: Read all instructions, save them for later use, and adhere to all warnings. Unplug before cleaning and use a damp cloth. Avoid water and unstable surfaces. Ensure proper ventilation. Connect to the specified power source and do not expose to rain or moisture. Refer servicing to qualified personnel.
Main Features: High Picture Quality (330,000-pixel CCD), Dual Stream (JPEG/MPEG4), Full Frame Rate (30 fps), Multicast support, Built-in Web Server, HTTP-based API, Electronic Sense Up, Night Surveillance (low luminance, infrared cutoff filter for VN-V26U, Easy day and night mode for VN-V25U), Privacy Mask, Motion Detection, PoE support, Built-in JPEG and MPEG4 Viewer, Analog Monitor Signal Output, Compatibility with Conventional Peripheral Devices, Built-in microphone and audio output terminal (VN-V26U only).
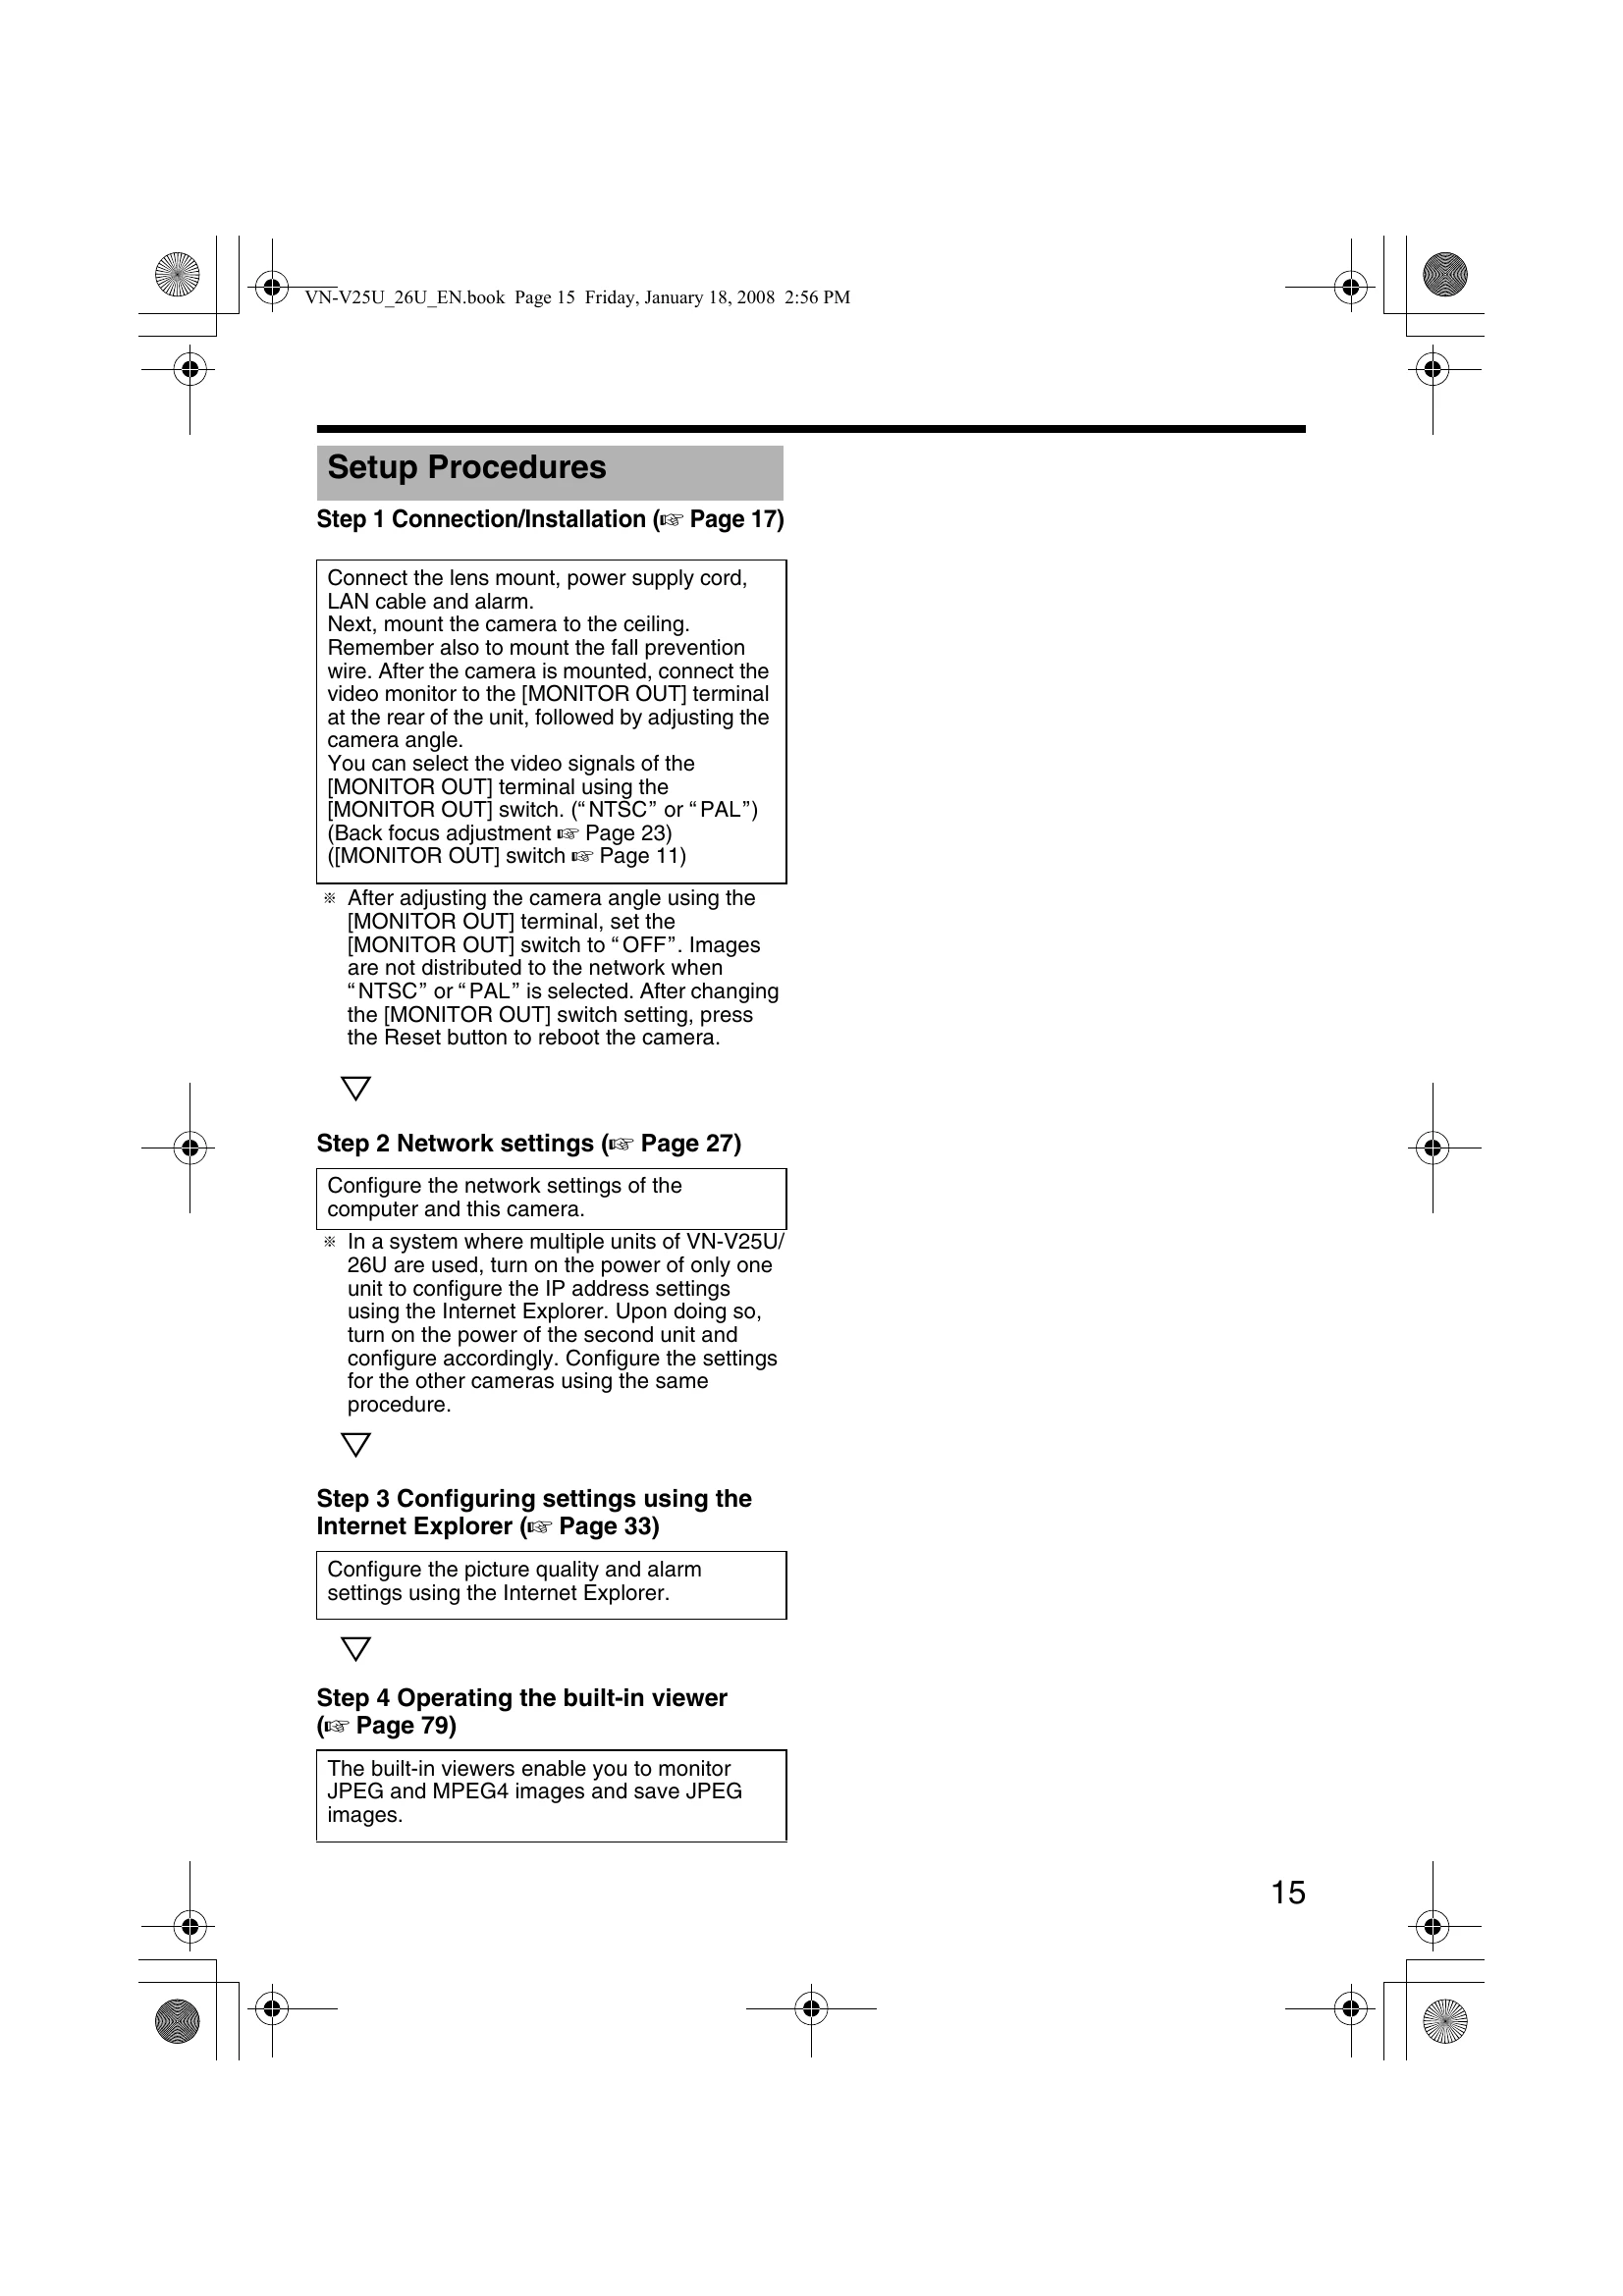
Connection/Installation: Mount the lens, connect power (AC 24V or PoE), and LAN cable. Connect to monitors, alarm devices, and audio outputs as needed. Ensure proper mounting to prevent falls.
Network Settings: Configure IP address settings for the camera and computer, potentially using Internet Explorer. Manage network requirements for smooth operation.
Operation: Use the built-in viewer to monitor JPEG and MPEG4 images, save JPEG images, and configure settings. Audio can be sent and received over the network (VN-V26U only). Control access via IP address and utilize customized application software.
Troubleshooting: Address issues like unknown IP addresses, inability to display web pages, viewer installation problems, authentication errors, warning messages, and playback issues. Check network settings, firewall configurations, and software compatibility.
| Symptom | Causes and Countermeasures | Reference Page |
|---|---|---|
| IP address of VN-V25U/26U is unknown |
|
Page 32 |
| The web page of VN-V25U/ 26U cannot be displayed | Check the Internet Explorer settings. When a proxy server is in use, configure the proxy server settings of the Internet Explorer accordingly. | Page 33 |
| The built-in viewer cannot be installed | Check the Internet Explorer settings. The built-in viewer consists of a software component called ActiveX. The ActiveX is usually installed when the built-in viewer is used for the first time. However, installation may be rejected depending on the Anti-virus software settings. In this case, change the settings of the Anti-virus software before installing the built-in viewer. | Page 79 |
| Authentication by Verisign appears during installation of the built-in viewer | Verisign's electronic signature is stored in the built-in viewer. For computers with a network environment that is connected to the Internet, the authenticity of the viewer can be verified via authentication by Verisign. | — |
| A warning message appears upon starting up the built-in viewer | The built-in viewer consists of a software component called ActiveX. The ActiveX is usually installed when the built-in viewer is used for the first time. However, installation may be rejected depending on the Anti-virus software settings. In this case, change the settings of the Anti-virus software before installing the built-in viewer. | — |
| TCP images cannot be played back | The maximum number of images that can be sent by VN-V25U/26U via TCP is 20, and up to 20 built-in viewers can be connected to each VN-V25U/26U unit. Make use of multicast for monitoring when the number of areas exceeds the above number. VN-V25U/26U allows multicast transmission of JPEG and MPEG4 one stream at a time. | Page 24 |
| Multicast images cannot be played back |
|
Page 64 Page 84 Page 90 |
| The frame rate of the displayed image is low |
|
Page 84 Page 90 |
| A white zone appears in the built-in viewer | For some computers, a part of the Internet Explorer graphics may not appear and is left white when the following setting is performed on the Internet Explorer. If [Right-click on the Desktop screen]–[Properties]–[Settings]–[Advanced]–[Advanced]–[DPI setting] is set to “Large size” or "Custom size", select "Normal size” to resume normal drawing. | — |
| Unable to receive alarm notification using the computer via TCP/UDP | Data may be blocked by the WindowsXP firewall. When this occurs, perform the following to allow it to pass through. Double-click [Windows Firewall] under [Start]–[Control Panel], click the [Add Port...] button under the Exception tab, and register the port number to be allowed through the firewall in the Port Number field. Enter an arbitrary character string in the name field. | — |
| Images are not distributed to the network | Check whether the [MONITOR OUT] switch at the side of VN-V25U/26U is set to "NTSC" or "PAL". If either of the above is selected, change the [MONITOR OUT] switch setting to "OFF". After changing the switch settings, press the [RESET] button to reboot. | Page 11 |
| The MPEG4 Viewer screen appears in black | When DirectX 9.x or Windows Media Player 9.x is installed on the computer, the video image screen appears in black. [Countermeasure] To make use of the built-in MPEG4 Viewer of VN-V25U/26U, install “ffdshow” that is open source codec. You can download "ffdshow" from the Internet. | — |
| No MONITOR OUT image output |
|
Page 11 Page 56 |
| Zonal noise occurs at the bottom of the MONITOR OUT image | When using the [MONITOR OUT] output, set the privacy mask to "Off". | Page 56 |
| Images from the network are distorted | Set the [MONITOR OUT] switch to "OFF", and press the Reset button. | Page 19 |