Brand: HP
Category: Digital Camera
Document Type: Manual
Language: EN
Brand: HP
Category: Digital Camera
Document Type: Manual
Language: EN
Uploaded: Nov. 21, 2025, 7:45 p.m.
Congratulations on your purchase of the HP Photosmart E327 digital camera and welcome to the world of digital photography!
This manual explains camera features you can use to ensure great results while enjoying the photographic experience. Some of these features are:
To locate a part on your camera (such as a button or a light) while following the instructions in this section, see Camera parts on page 14.
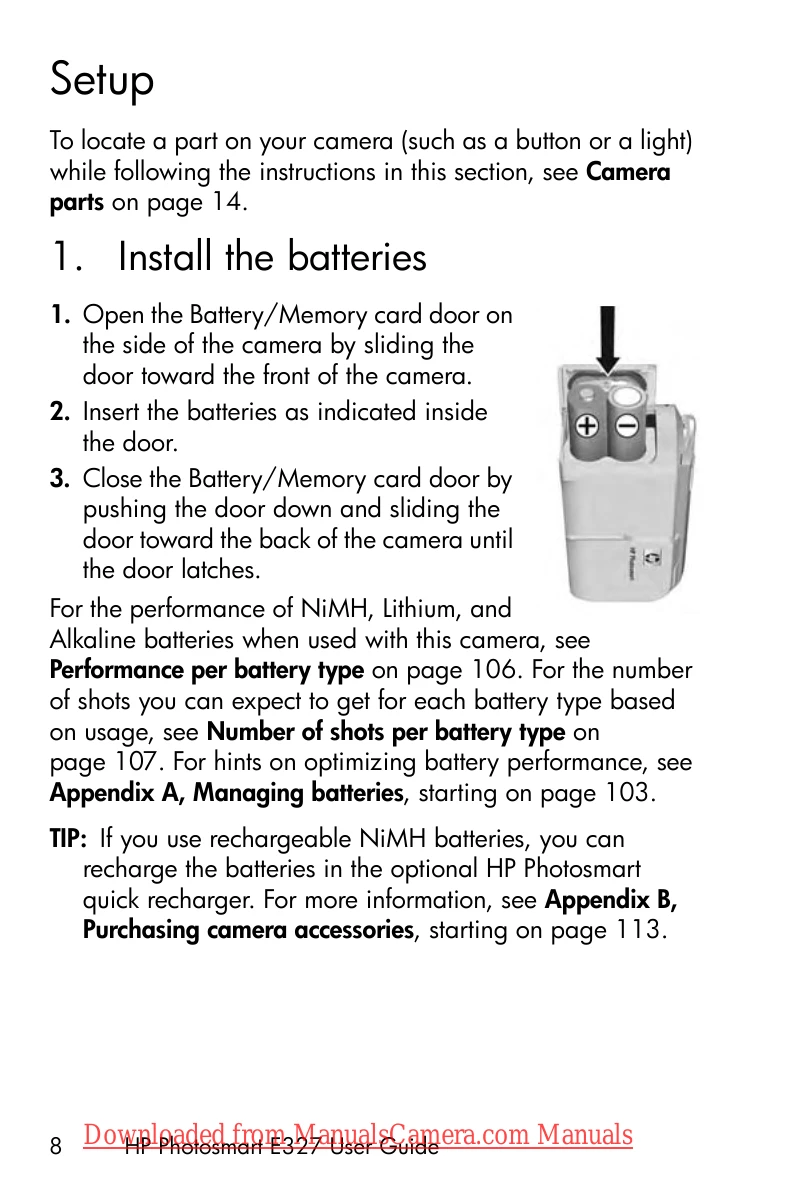
1. Open the Battery/Memory card door on the side of the camera by sliding the door toward the front of the camera.
2. Insert the batteries as indicated inside the door.
3. Close the Battery/Memory card door by pushing the door down and sliding the door toward the back of the camera until the door latches.
To turn the camera on, slide the lens cover open until it clicks, uncovering the lens. The Power/Memory light on the back of the camera turns on solid green. The HP logo also displays on the Image Display as the camera powers up.
To turn the camera off, slide the lens cover closed until it clicks, covering the lens.
The first time you turn the camera on, you are prompted to choose a language.
The camera has a clock that records the date and time at which you take each picture. This information is recorded in the image properties, which you can see in Playback, when viewing Image Advice, and when viewing the image on your computer. You can also choose to have the date and time imprinted on the image (see Date & Time Imprint on page 36).
Your camera contains internal memory that allows you to store images and video clips. However, you can use a memory card (purchased separately) instead to store images and video clips. For more information about supported memory cards, see Storage on page 121.
The HP Photosmart Software allows you to transfer images.
| # | Icon | Description |
|---|---|---|
| 1 |  |
Live View icon, indicating the camera is in Live View. This icon displays for the first few seconds. |
| 2 |  |
Indicates that a memory card is installed in the camera |
| 3 |  |
Power indicator, such as this full battery level indicator (see Power indicators on page 108) |
| 4 | 12 | Remaining pictures count (actual number depends on the current Image Quality setting and how much space remains in memory) |
| 5 | 5MP | Image Quality setting (default is 5MP) |