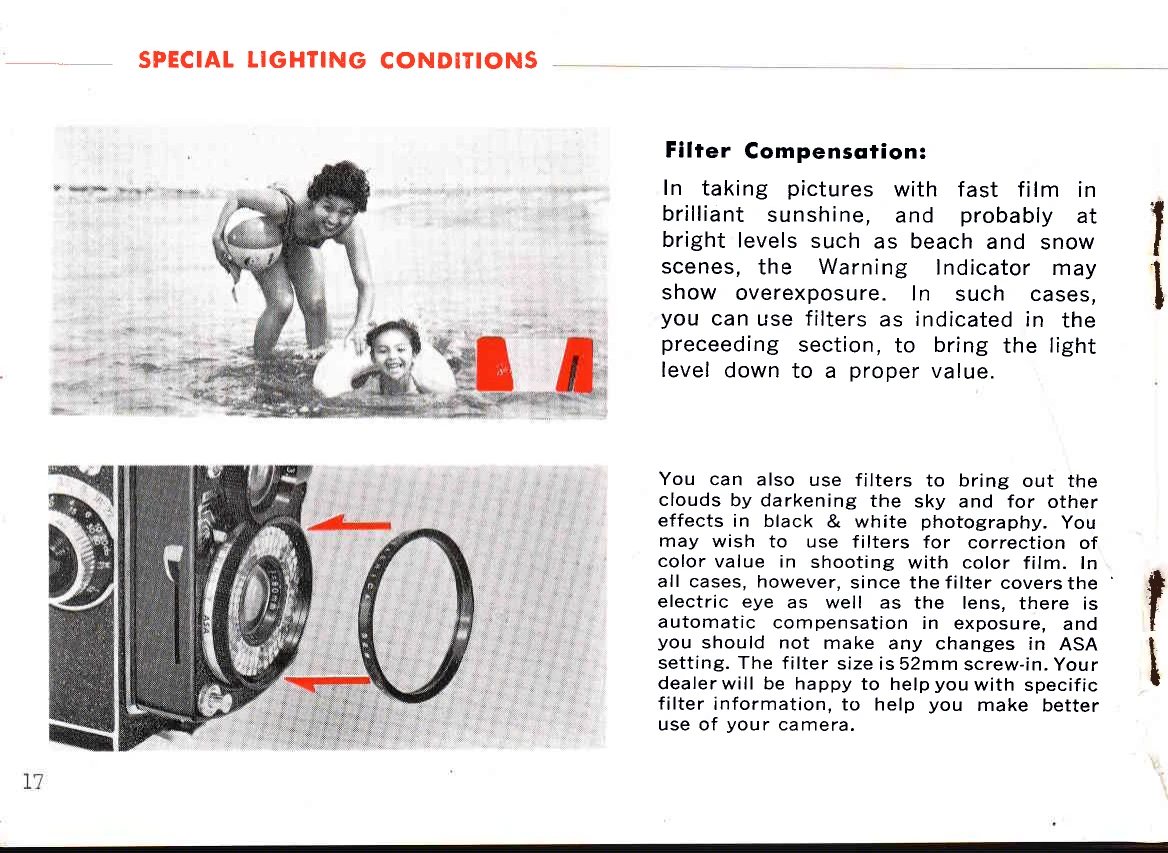
Filter Compensation: Use filters to reduce overexposure in bright conditions like sunshine, beaches, or snow. Filters also enhance clouds in B&W photography and correct color in color photography. Automatic exposure compensation occurs when a filter is used; do not change ASA settings. Filters are 52mm screw-in.
Backlighting: Recognize backlighting by shadows facing the camera. Underexposed silhouettes can be interesting (e.g., watching a sunset). For foreground exposure, reduce the Film Speed Setting by half to widen the diaphragm for more exposure. Remember to reset the film speed afterward.
Built-in Flash: Use the table on the back cover to determine flash settings. Focus on the subject, note the distance, find the ASA speed in the left column, and move right to the determined distance. Move up to the top line for clear bulbs or the second line for blue bulbs to get the flash number (lens opening). Move the Manual Control Lever to this number.
Flash Bulb Insertion/Ejection: Press the Flash Cover Release Button to open. Insert a new AG-1 bulb. To eject, tilt the camera away and push down the Flash Bulb Ejector. Be careful, the bulb may be hot.
Viewing the Subject: The Focusing Hood opens with a forefinger at the back and closes from the front. The focusing screen is a fresnel lens for even brightness, with a ground glass spot in the center for accurate focusing.
Composition: Use the red lines on the screen to guide composition and proportion.
Magnifying Glass: Raise the magnifying glass by pressing the front of the Focusing Hood. Place your eye close to it. Snap the magnifying glass down before closing the Focusing Hood.
Focusing: Move the camera until the ground glass spot is over the subject. Rotate the Focusing Knob for the sharpest image, rocking it slightly back and forth to ensure sharpness. If the subject is out of focus and cannot be brought into focus, it may be too close; Yashica close-up lenses allow focusing as close as 14 inches.
Sportsfinder: Use the sportsfinder for fast photography of pre-focused subjects. Press the center of the Focusing Hood with your thumb until the magnifying glass pops up, then press further until it locks. View through the Sportsfinder Window. Press the Focusing Hood Release Button to release it.
Shutter Release: Cock the shutter by fully depressing the Shutter Cocking Lever. Press the Shutter Release button smoothly to take the picture. Avoid pushing hard to prevent camera movement. The shutter speed is a constant 1/60th second.
Holding the Camera: Hold the camera overhead for obstructed views, at eye level using the Sportsfinder, steady on your knee for lower shots, or resting on the ground for low objects. Gently push the shutter release button.
Cable Release: A standard overlap-type Cable Release can be fitted by unscrewing the Shutter Release Ring and screwing in the Cable Release. Your dealer can supply the correct one.
Manual Exposure Settings: To deactivate the automatic electric eye, set the desired lens opening using the Manual Control Lever. Align the red triangle on the ASA Film Speed Control Ring with the red triangle on the manual control plate.
Depth-of-Field: Depth-of-field is the area in front of and behind the subject that appears sharp. It varies with lens opening; smaller openings (e.g., f/22) provide a wider depth-of-field than larger openings (e.g., f/3.5). The depth-of-field scale on the camera body indicates this range.
External Flash: Use a separate flash unit after setting the camera for manual control. Electronic flash units connect to the Accessory Shoe or tripod socket. Insert the sync cord into the flash terminal. B-C flash units work with SM bulbs. When using external flashes, set the camera for manual control; follow the flash unit's instructions for exposure settings.