Brand: Electrolux
Category: Cooktop
Document Type: Manual
Language: EN
Brand: Electrolux
Category: Cooktop
Document Type: Manual
Language: EN
Uploaded: Sept. 12, 2025, 4:19 a.m.
Manual Publish Date: 2006-09-01
Electrolux warrants appliances are free from defects in materials and workmanship for 24 months for domestic use.
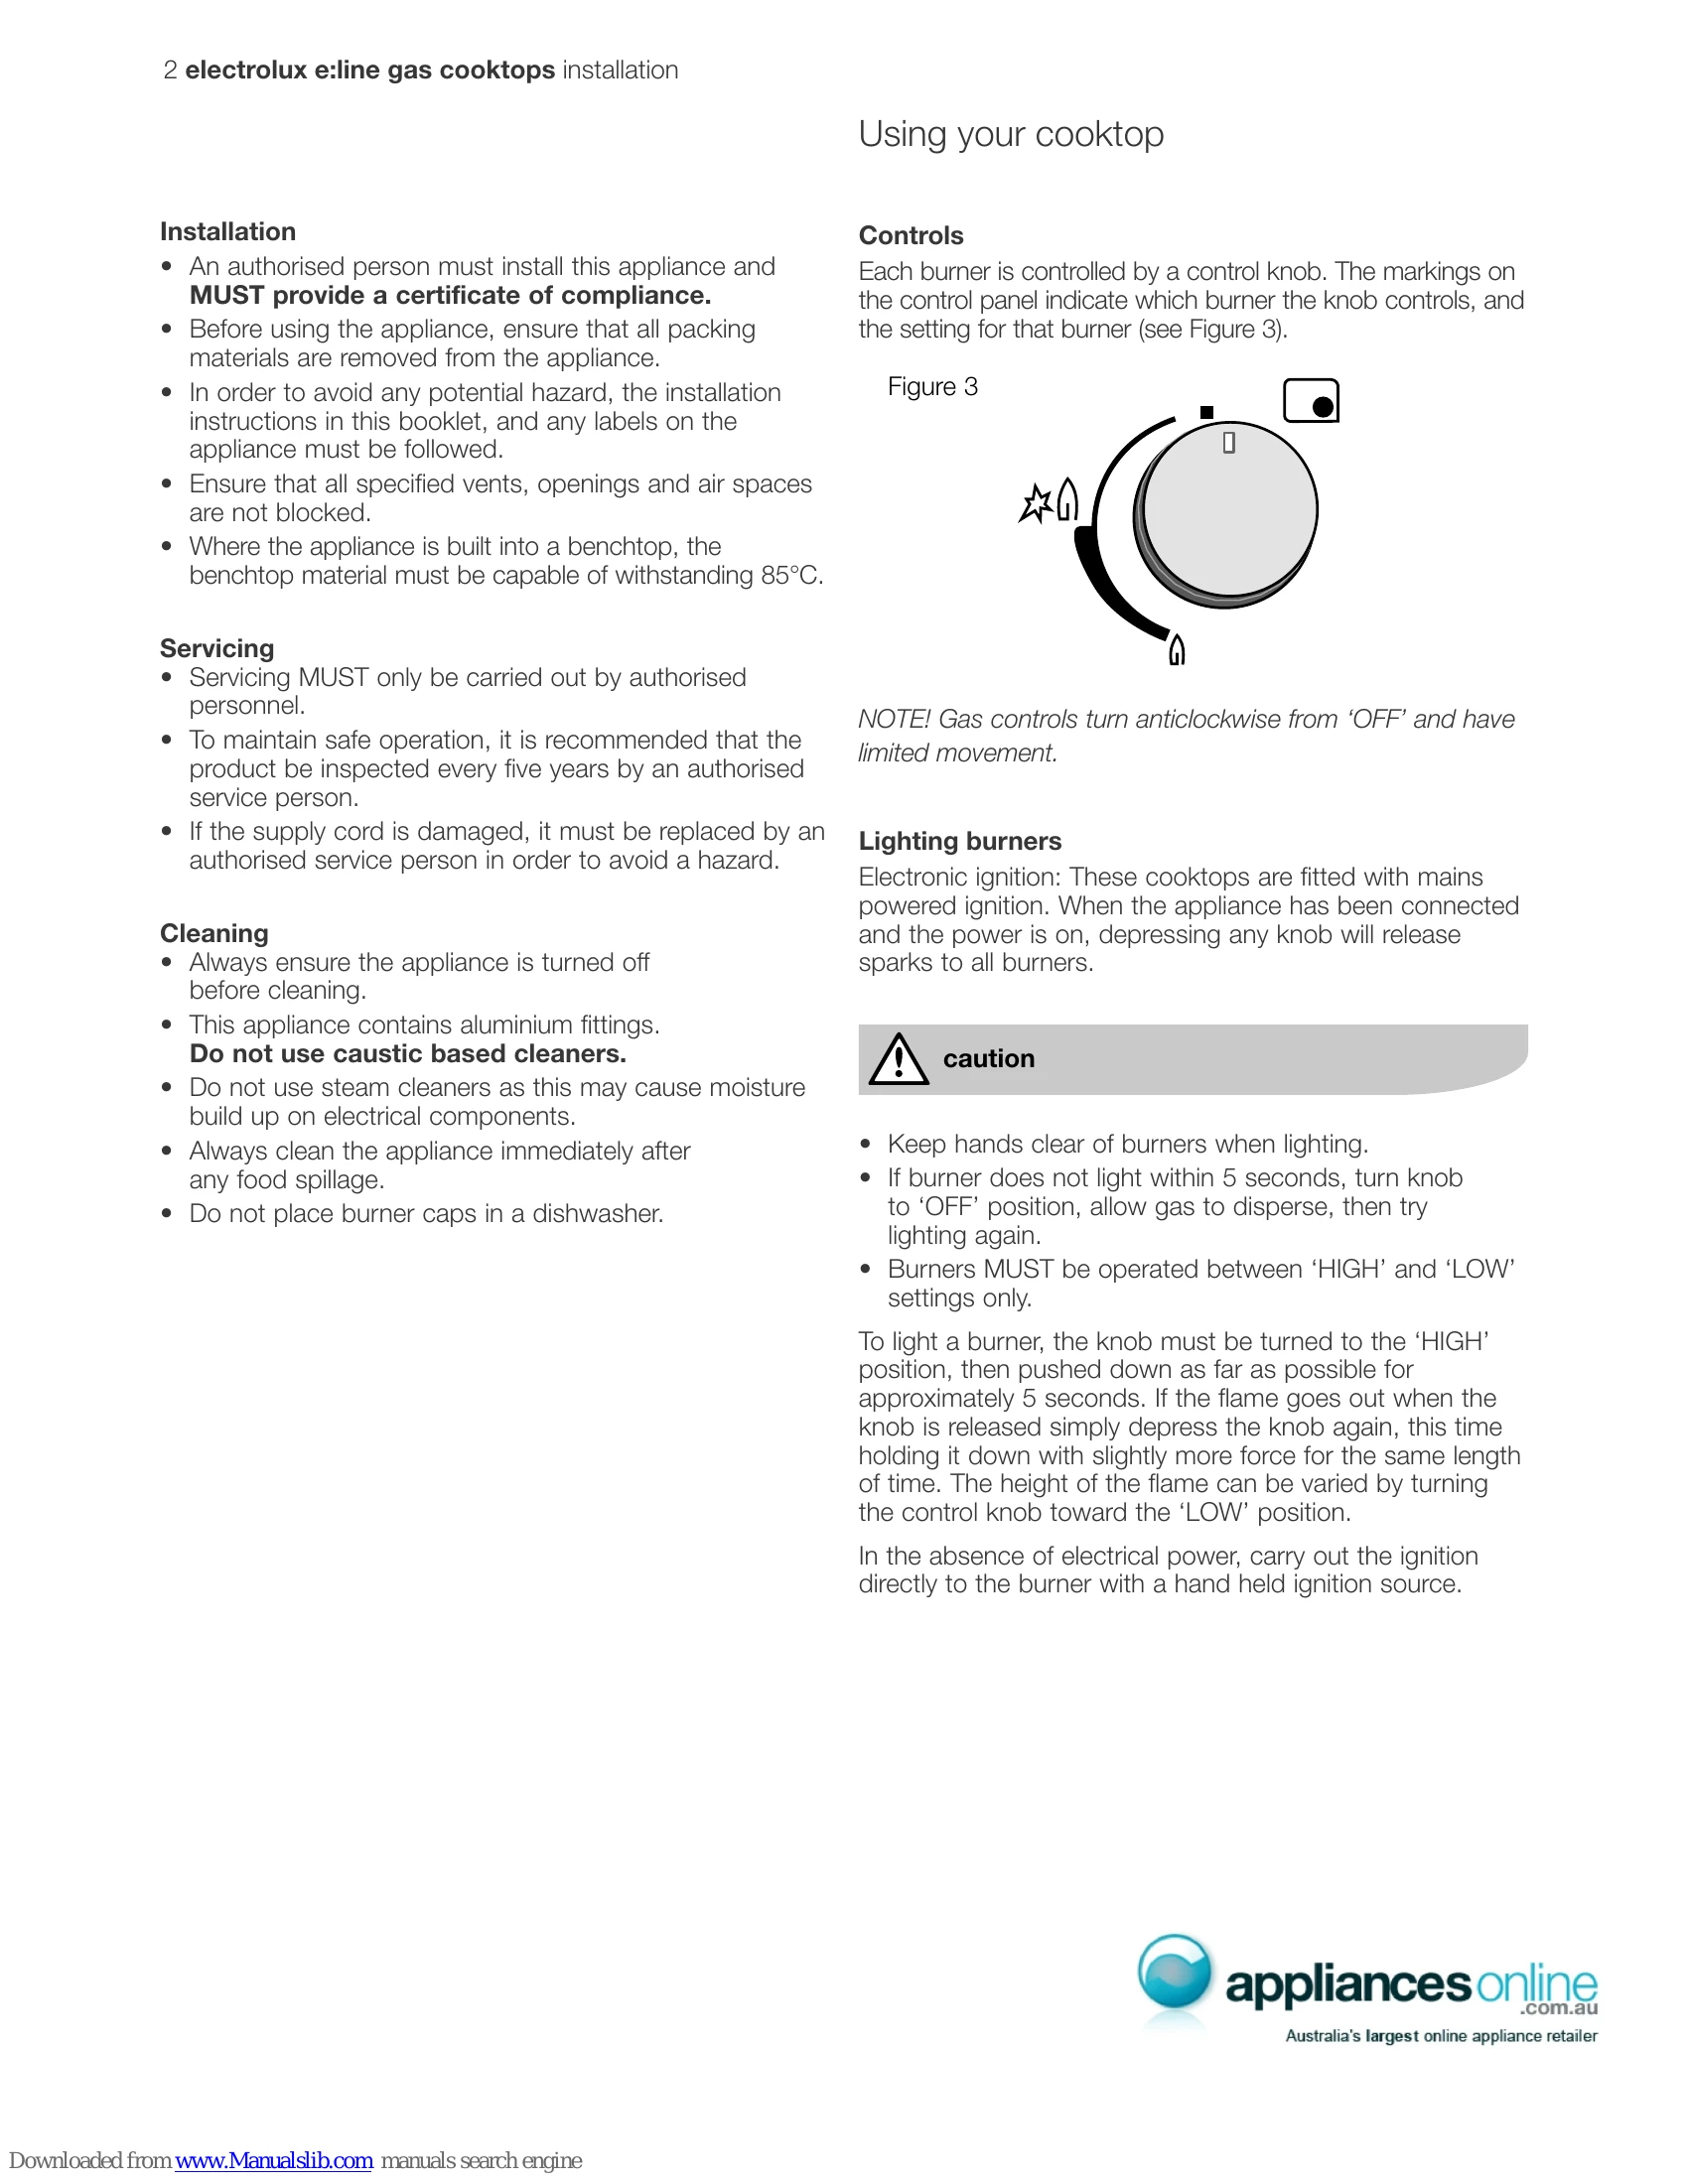
Each burner is controlled by a control knob. Markings on the control panel indicate which burner the knob controls and the setting. Gas controls turn anticlockwise from 'OFF' and have limited movement.
Lighting Burners:
There are different burner sizes for various cooking needs:
Pots and Pans: Use common pots and pans (aluminium, stainless steel, cast iron ceramic, etc.). Ensure they are steady with flat bases. Place the pan centrally over the burner and adjust the flame so it doesn't extend past the edge of the pan.
Caution: Never use asbestos mats, wire mats, grids, aluminium foil, etc., as this can lead to overheating and damage.
| Fault | Possible Cause | Remedy |
|---|---|---|
| Burner will not light even though the sparker is working. | Knob not held down long enough in 'HIGH' position for flame safeguard. Gas supply valve turned off. Wrong knob turned. Port blockage in ignition area. Ignition spark plugs wet or dirty. |
Repeat lighting procedure and hold knob down for 5 seconds in 'HIGH' position. Turn on gas supply to appliance. Ensure the knob corresponds to the burner. Ensure that ports in ignition area are clean and dry. Dry or clean ignition spark plugs. |
| No spark is obtained when control knob is activated. | Electricity supply is disconnected or switched off. | Switch on electricity or check fuses. |
| Flames uneven or tending to lift. | Ignition spark plugs wet or dirty. Flame ports blocked or wet. Burner cap incorrectly fitted. |
Dry or clean ignition spark plugs. Clean or dry flame ports. Ensure this component is fitted correctly. |
| Flames not staying on when knob is released. | Knob not held down long enough in 'HIGH' position for flame safeguard to engage. Knob not set between 'HIGH' and 'LOW'. Dirt or spillage on flame safeguard sensor. |
Repeat lighting procedure and hold knob down for 5 seconds in 'HIGH' position. Knob MUST be set between these positions. Clean flame safeguard sensor tip. |
| Low heat, slow cooking. | Incorrect cooking pot or pan being used. | Refer to Figure 4. |
| Benchtop or knobs overheating. | Pot or pan not located on burner properly. | Ensure pot or pan is centrally located on burner. |