Brand: CASIO
Category: Digital Camera
Document Type:
Language: EN
Brand: CASIO
Category: Digital Camera
Document Type:
Language: EN
Uploaded: Aug. 9, 2025, 11:40 p.m.
None
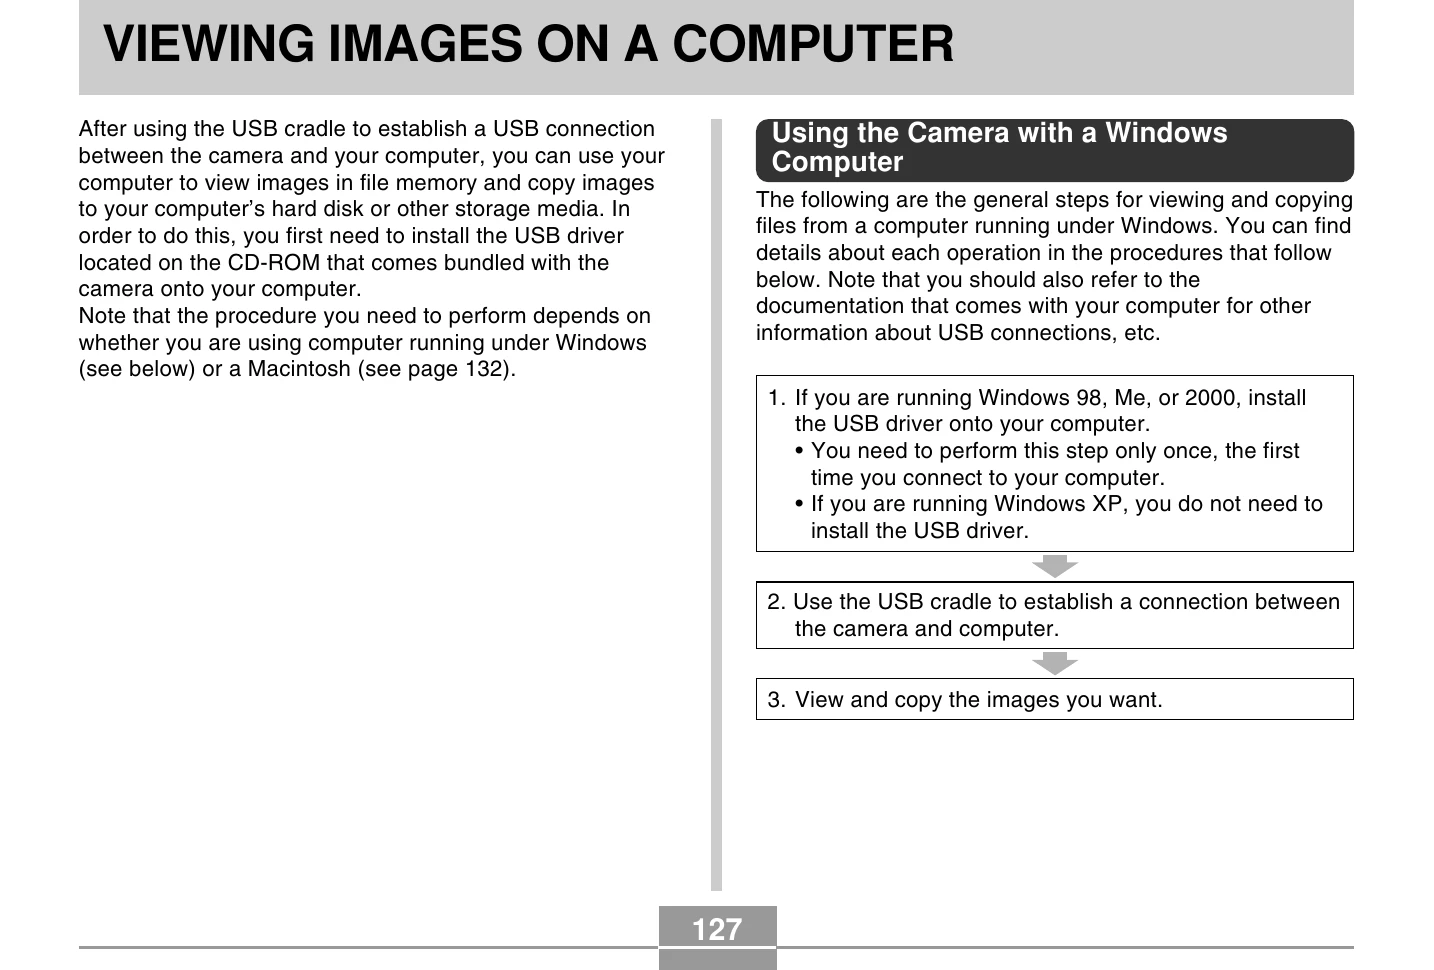
Connect the camera to a computer using the USB cradle to view and copy images. For Windows users, install the USB driver from the CD-ROM if running Windows 98, Me, or 2000. Windows XP does not require driver installation. For Macintosh users, use the standard USB driver that comes with the OS if running Mac OS 9 or OS X (10.1, 10.2 or higher). Ensure the camera is turned off before placing it on the USB cradle. Press the [USB] button on the cradle to initiate the connection. Navigate to 'My Computer' then 'Removable Disk' to access camera files. Copy images by dragging them to your computer's folders. To disconnect, safely eject the camera or follow specific procedures for your operating system. The camera also supports creating HTML photo albums for viewing and printing images.
| Symptom | Possible Cause | Action |
|---|---|---|
| Power does not turn on. |
1) The battery is not oriented correctly. 2) The battery is dead. |
1) Orient the battery correctly (page 26). 2) Charge the battery (page 28). If the battery goes dead soon after being charged, it means the battery has reached the end of its life and needs to be replaced. Purchase a separately available NP-20 rechargeable lithium ion battery. |
| Camera suddenly powers down. |
1) Auto Power Off activated (page 36). 2) The battery is dead. |
1) Turn power back on. 2) Charge the battery (page 28). |
| Image is not recorded when the shutter release button is pressed. |
1) The mode selector is set to O (PLAY). 2) Flash unit is being charged. 3) Memory is full. |
1) Align the mode selector with O (REC). 2) Wait until the flash unit finishes charging. 3) Transfer files you want to keep to your computer and then delete files from image memory, or use a different memory card. |
| Camera powers down during self-timer countdown. | The battery is dead. | Charge the battery (page 28). |
| Recorded images are not saved in memory. |
1) Camera powers down before the save operation is complete. 2) Removing the memory card before the save operation is complete. |
1) When the battery indicator shows 2) Do not remove the memory card before the save operation is complete. |
| Color of the playback image is different from the image on the monitor screen during recording. | Sunlight or light from another source is shining directly into the lens during recording. | Position the camera so sunlight does not shine directly into the lens. |
| Images are not displayed. | A memory card with non-DCF images recorded with another camera is loaded in the camera. | This camera cannot display non-DCF images recorded onto a memory card using another digital camera. |
| Cannot playback audio, cannot hear audio, or cannot control the audio playback using the remote controller. |
1) There is no MP3 file data in memory. This is indicated by the message “NoData” on the remote controller LCD. 2) Stereo headphones are not connected correctly. 3) Volume setting is too low. 4) The battery is dead. 5) The remote controller buttons are locked. 6) There are no playable files. 7) Improper PLAYLIST.TXT file contents |
1) Transfer MP3 files to the camera's AUDIO folder. 2) Correctly connect the headphones to the headphones jack. 3) Adjust the volume to a higher level. 4) Charge the battery (page 28). 5) Slide the remote controller lock switch in the opposite direction of the arrow marking to unlock the controls. 6) Check the files you are trying to play (page 154). 7) Check to make sure the PLAYLIST.TXT file lists the MP3 files you want to play. |
| Playback time is short. | The battery is dead. | Charge the battery (page 28). |
| All buttons and switches are disabled. | Circuit problem caused by electrostatic charge, impact, etc. while the camera was connected to another device. | Remove the battery from the camera, reinsert it, and then try again. |
| Monitor screen is off. |
1) USB communication is in progress. 2) The monitor screen is turned off (in the REC mode). |
1) After the computer stops accessing camera file memory, press the [USB] button on the USB cradle. Check to make sure that the [USB] lamp on the USB cradle is off, and then remove the camera from the USB cradle. 2) Press [DISP] to turn on the monitor screen. |
| Cannot transfer files over a USB connection. |
1) Camera is not set securely on the USB cradle. 2) USB cable is not connected securely. 3) USB driver is not installed. 4) Camera is turned off. |
1) Check the connection between the camera and USB cradle. 2) Check all connections. 3) Install the USB driver on your computer (page 127). 4) Press the [USB] button on the USB cradle. |